
This guide outlines the WebChart/Ozwell integration process. WebChart is fully integrated with Ozwell AI. To turn on Ozwell in your system, contact your administration.
Getting Started #
The following items are required to enable the integration:
- Login for BlueHive
- Login for WebChart
Connect to WebChart #
- Log into your Ozwell AI (formerly known as BlueHive AI) account. (https://www.bluehive.com/login?redirect=https%3A%2F%2Fai.bluehive.com%2F&loggedOut=true)
- Clicking on your profile picture will display a drop down of menu choices. Click on the “Integrations” menu option.

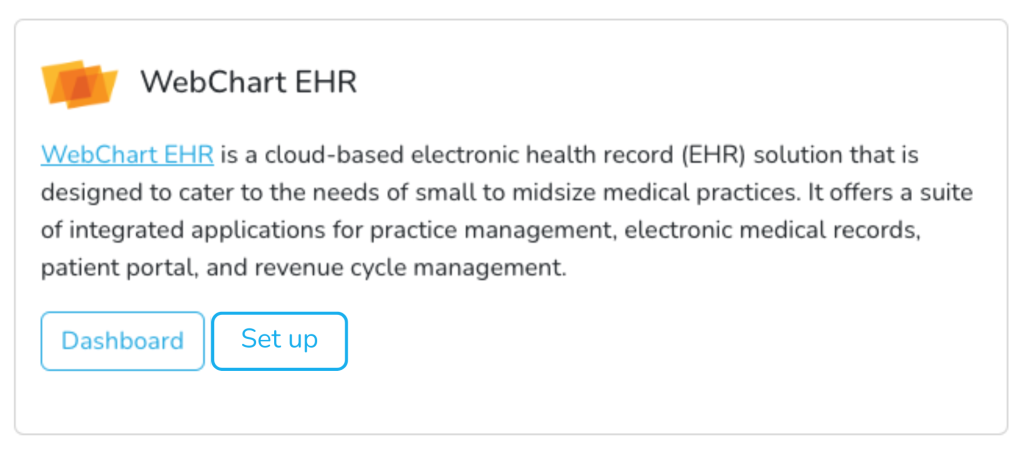
4. Locate the WebChart EHR integration and select “Setup”
5. Type in you WebChart handle. For example, if your system is client.webchartnow.com, your handle is “client”

6. Once Ozwell as located you WebChart system, it will display your practices logo and you can select “Next” to continue to log into your WebChart system.

7. This screen may look different depending on your provider organization. From here, you should log into you WebChart account using your WebChart credentials.

8. Once logged in, you will be asked to agree to allow Ozwell AI to access the following information:
- Create and access patient data
- Create and view documents
- Access your schedule and appointments
- View and manage your account information and settings
- Your user data (name, email, username, etc.)
9. Click “Connect Ozwell AI”

10. Once connected, you will be directed back to Ozwell AI.
Viewing WebChart dashboard #
To view the dashboard of your WebChart system from Ozwell AI, read through the following steps:
- Click on “Integrations” from the menu dropdown.
- Select “Dashboard”.
-
- From the dashboard, you can view recent patients and patients with appointments for today. Ozwell will keep track of the last time the page was updated which is displayed in parentheses. You can refresh this list by click the blue fresh icon.1 This section will display the patients name, date of birth, medical record number, appointment time, time last accessed, and the ability to link out to their chart in WebChart.2 The section below shows what WebChart system is connected to your account and the username associated to the WebChart account. 3


Changing which WebChart system is linked to Ozwell #
- Clicking on your profile picture will display a drop down of menu choices. Click on the “Integrations” menu option.
- Locate the WebChart EHR integration and select “Change System”
- Type in you WebChart handle. For example, if your system is client.webchartnow.com, your handle is “client”
- Once Ozwell as located you WebChart system, it will display your practices logo and you can select “Next” to continue to log into your WebChart system.
- This screen may look different depending on your provider organization. From here, you should log into you WebChart account using your WebChart credentials.
- Once logged in, you will be asked to agree to allow Ozwell AI to access the following information:
- Create and access patient data
- Create and view documents
- Access your schedule and appointments
- View and manage your account information and settings
- Your user data (name, email, username, etc.)
- Click “Connect Ozwell AI”
- Once connected, you will be directed back to Ozwell AI.


